

Hey, everybody! So, if you ever read any of my 20 Wishes posts last year, you already know that I’ve always wanted to make cheese. A long time ago I saw a post on Pinterest about making your own cheese from a gallon of milk, and I was so intrigued. How does it work? How can I make cheese? Finally, I did it. Wewt! And of course I took pictures to document it.
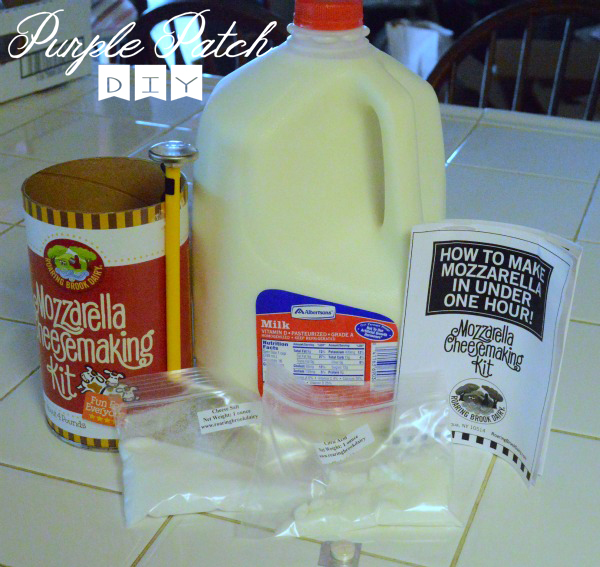
First things first, I got all my ingredients together. Because you need special ingredients like citric acid, cheese salt, and rennet, I just went ahead and bought a cheese making kit. The kit I bought was from Roaring Brook Dairy, and it basically includes everything you need except for the milk.
If you want to make your own cheese without using a kit, here’s what you need:
Ingredients:
- 1 gallon pasteurized, whole, or 2% milk (NOT ultra-pasteurized – as fresh as possible)
- 1 and 1/2 level teaspoon citric acid
- 1/4 rennet (enzyme) tablet
- 1 teaspoon cheese salt
I believe if you Google the special ingredients there are a few different sites that sell them. I just found that it was cheapest to buy them all together in one kit, especially because I wasn’t sure if I was going to be making more than one batch, so I didn’t want to buy huge amounts of each item.
 Start by making sure all your equipment is completely sterilized and clean. Because you’re going to be using active ingredients, you don’t want them to interact with any residue you might have on your pots or spoons, so this is an important step. Here is the equipment you’ll need:
Equipment:
- Cooking thermometer
- Rubber gloves
- Measuring spoons
- Stainless steel or strong plastic slotted spoon
- One- or two-quart microwave-save mixing bowl
- Colander
- 1-gallon stainless steel (or non-aluminum) pot
Preparation:
First, I prepared the rennet water solution by dissolving the 1/4 tablet of rennet (enzyme) in 1/4 cup of cold chlorine-free water. You can wrap up the remaining pieces of the rennet (enzyme) tablet or put them in a sandwich bag and store them in the freezer for future use.
Next, measure the 1 and 1/2 teaspoons of citric acid into 1 cup of cold water, stirring to dissolve completely.
Heating the Milk
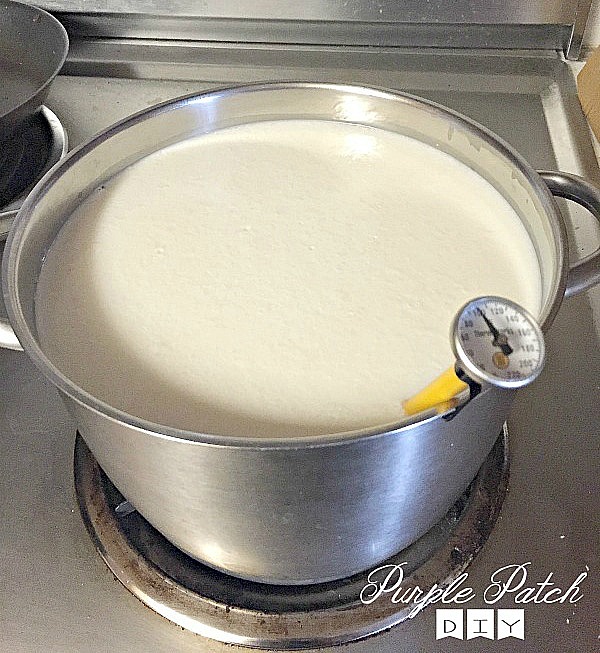
Pour the entire gallon of milk into your non-aluminum pot and set heat to medium-low. Using the cooking thermometer, check the temperature of the pot. As you can see, I clipped my thermometer to the side of the pot so I could get a constant read of the situation.
Once your milk has reached 85 degrees Fahrenheit (which will probably take around 10 minutes), add the citric acid and stir with a slotted spoon or whisk slowly for 20 seconds. Once the milk reaches 100 degrees Fahrenheit (about another 5 minutes), add in the rennet/water solution. Use your slotted spoon to gently stir the milk mixture in an up and down motion for about 30 seconds.
As you can see in the below picture, you can see the milk starting to coagulate a bit.
Developing the Curds
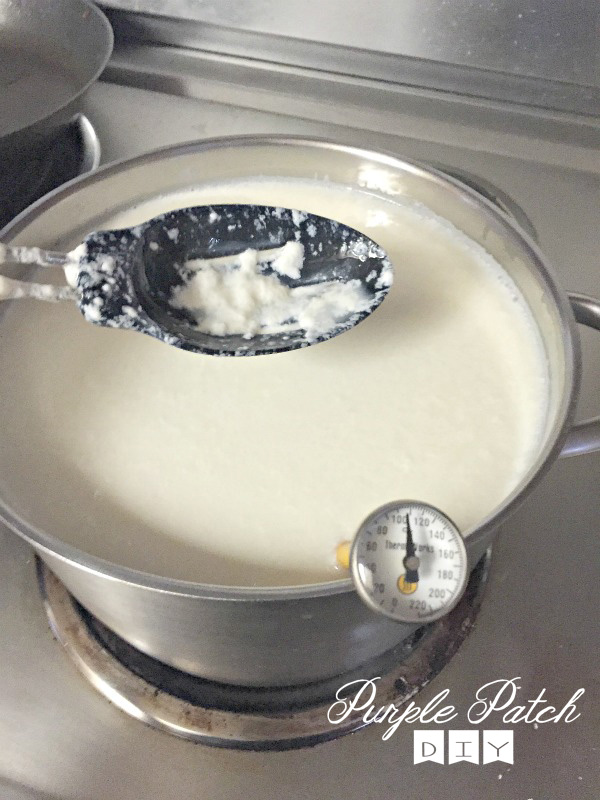
Heat the milk a little bit more to 105 degrees Fahrenheit, and then turn the heat off. Cover the pot and let it sit for about 10 minutes. You should see even more coagulation – the curds will look like shiny yogurt and will begin to pull away from the side of the pot. The whey (liquid) will look yellowish.
To check if the curds are ready, gently press the back of a teaspoon into the curds. If the spoon leaves a dent, the curds are ready. If it doesn’t leave a dent, allow the curds to sit undisturbed for another 2 minutes.
(Side note: I FINALLY know what curds and whey are now. I’m completely baffled as to why Miss Muffett would be EATING curds and whey, but at least I know what they are.)
Draining the Curds
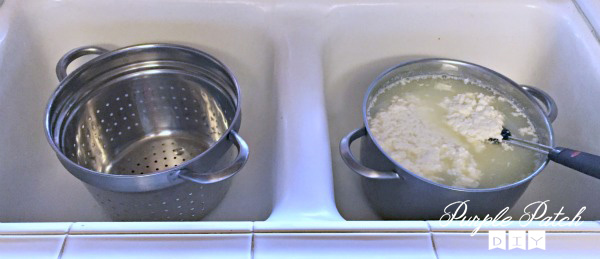
When draining your curds, your goal should be to drain as much whey as possible from the curds. Just remember: always handle your curds gently and with care. (Also, I’m going to preface the next few steps by saying, some of this stuff just sounds…kinda dirty… Not going to lie, I don’t enjoy saying stuff like “draining your curds” or “pulling your cheese.” It just sounds wrong.)
Place your colander in the sink or wherever you feel comfortable draining it into. Then, using your slotted spoon, gently lift up the curds and let the whey drip back into the pot. Then, place the curds into the colander.
Once all of your curds are in the colander, gently press the curds with the palm of your hand to push out as much additional whey as possible. You’ll probably want to put your rubber gloves on for this, because those curds are hot! Once there is almost no whey coming out of the curds, put the ball of curds into your microwave-safe bowl.
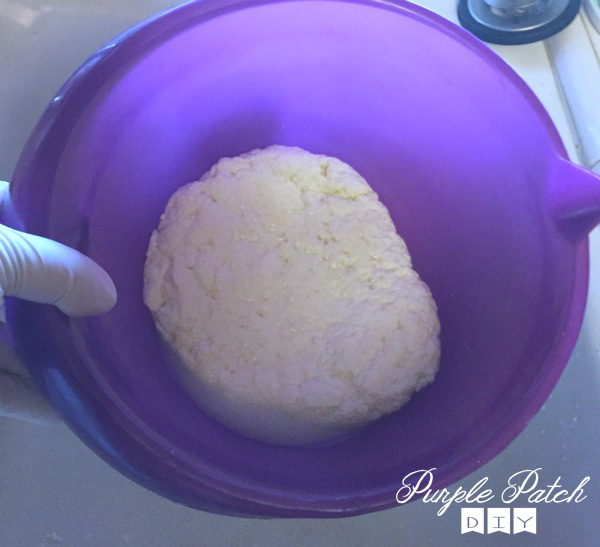
Cooking and Kneading the Curds
Now your curds are ready to be microwaved. Zap them in the microwave for 1 minute and remove the bowl from the microwave. Drain the whey from the curds, and then gently fold the curds over to distribute the heat – once again, the curds will be very hot! As you fold, continue to drain out any additional whey.
Microwave the curds for an additional 30 seconds, drain, knead, and repeat until the curds begin to look smooth, shiny and firm.
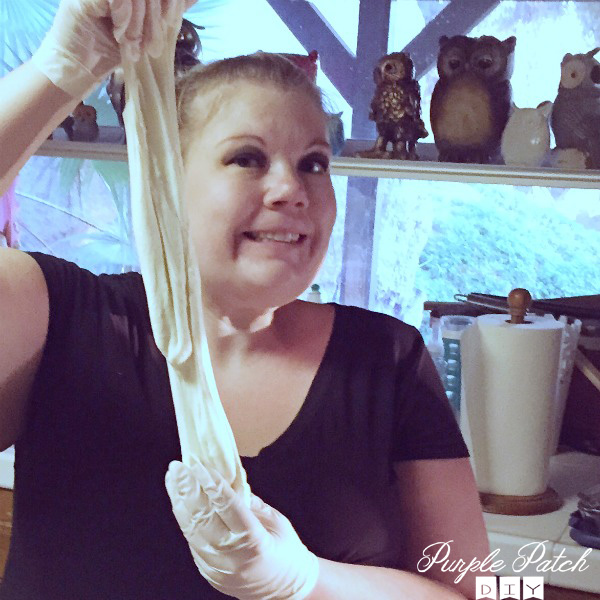
Stretching the Cheese
Once the curds look firm enough, you’re going to stretch the cheese. I know. It has to be 135 degrees Fahrenheit in order to stretch properly, so if it isn’t hot enough, just microwave it for another 30 seconds.
At this point, you’re going to add the cheese salt and any other herbs you want to put in the cheese you are making.
Begin to work into the cheese by stretching and folding. Holding the cheese up, let it fall on itself. If you prefer a softer texture, don’t stretch the cheese as much.
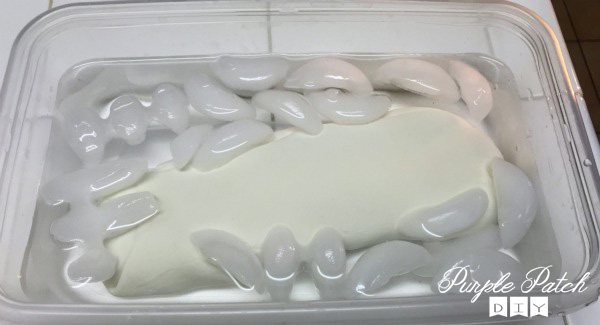
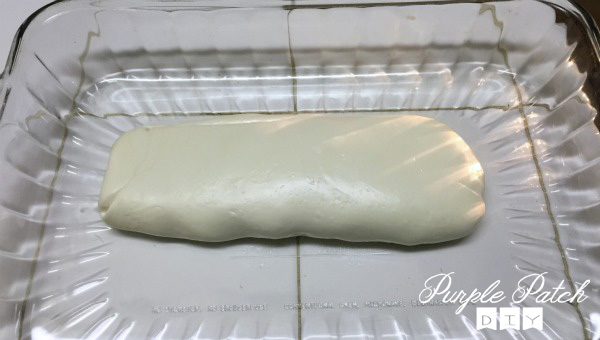
As soon as the cheese is smooth and shiny, you can shape it into your desired cheese shape. I chose to go with kind of a long cheese roll, but you could go with two mozzarella balls, string cheese sticks, a cow shape (that would be awesome), etc.
To ensure your cheese stays in shape, place it in a large bowl of ice water for about 15 minutes.
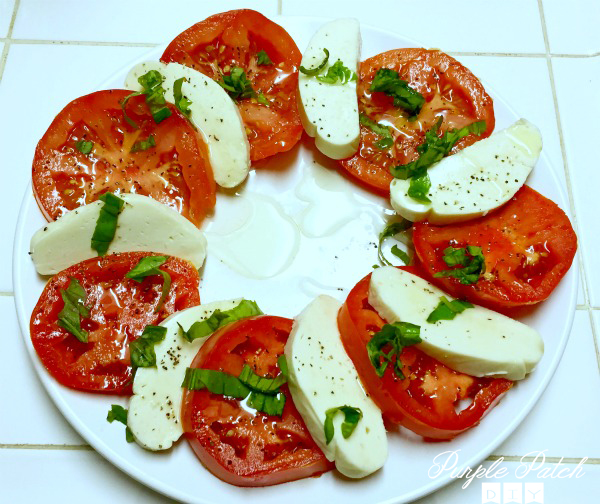
Ta-Da! You’ve made your very own mozzarella cheese! Enjoy!
I used my cheese to make this delicious appetizer with tomatoes, basil, olive oil and fresh cracked black pepper.

barbara langley
at (9 years ago)Never dreamed of making my own cheese, let alone in a hour , wow. I will be making my own now.
Mai T.
at (9 years ago)Oh how creative of you! I’d love to try out myself some day but maybe it’ll take me more than 1 hour since I’m quite clumsy.
Adelynn Lovellette
at (9 years ago)Wow, I didn’t know you could do that.
Karen Beckett
at (9 years ago)How interesting! I never dreamed of doing this…but I am now going to try it!
Kamla L.
at (9 years ago)I love fresh mozzarella! It’s so much better than the prepackaged stuff but so expensive. You make the process seem so easy and fun. This is definitely something I want to try!
Katrina
at (9 years ago)I have been wanting to try this, but I don’t know if I can find just pasturized milk at my store. I think I checked, and it was all ultra. So. That’s unfortunate. But maybe it’s time to check again.
lexi
at (9 years ago)this post is making me crave cheese big time!